How to Make a Maple Leaf Origami
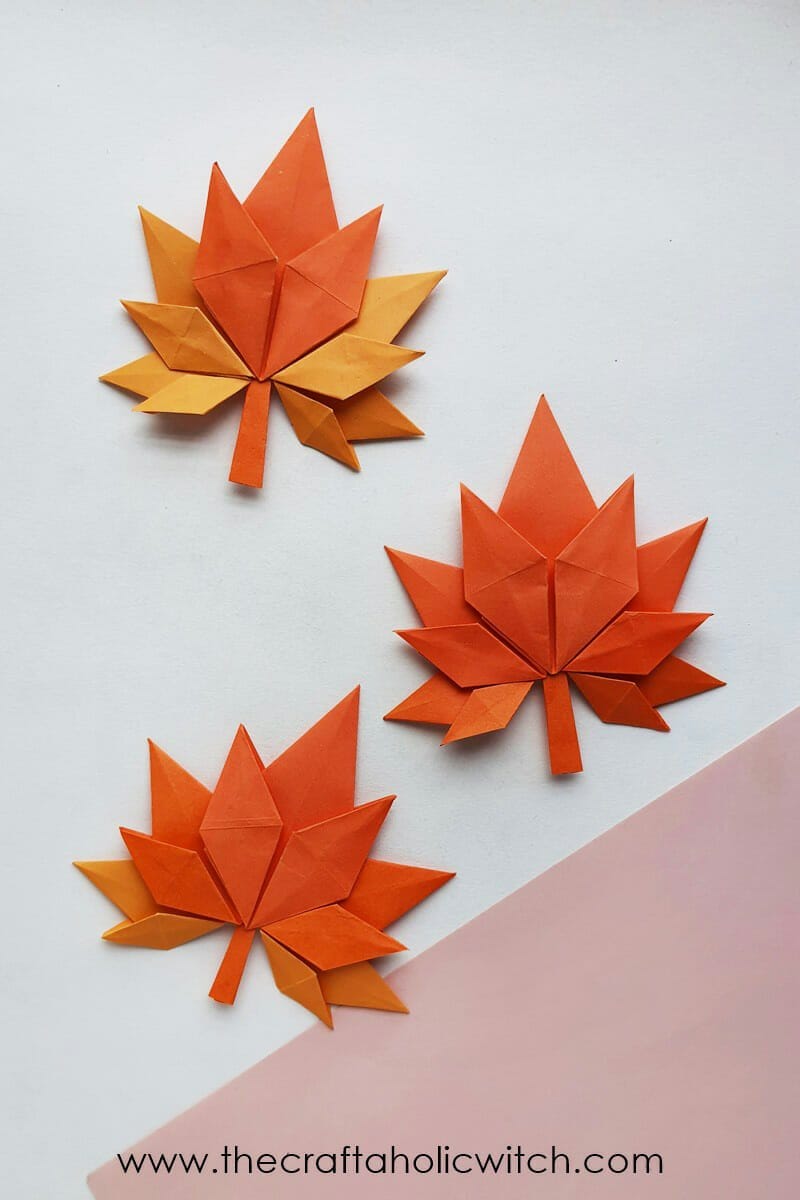
Who's ready for Fall craft? We are! To celebrate the beginning of Fall we're starting our Fall craft series with this easy-to-fold origami maple leaf. With our step-by-step instructions, you can easily learn how to fold an origami maple leaf in 5 minutes.
You can use this origami maple leaf for so many other craft projects. You can make a garland, a wreath, you can use the origami maple leaf to make greeting cards, for scrapbooking, to decorate a gift box and so much more. Once you learn how to make origami maple leaf, you'll also naturally learn the basic origami folding techniques. Mix and match with different colored and shaded papers to give the origami maple leaf crafts a different look. Go check out the list of supplies, follow our instructions and get crafty!
Things You Will Need
Materials
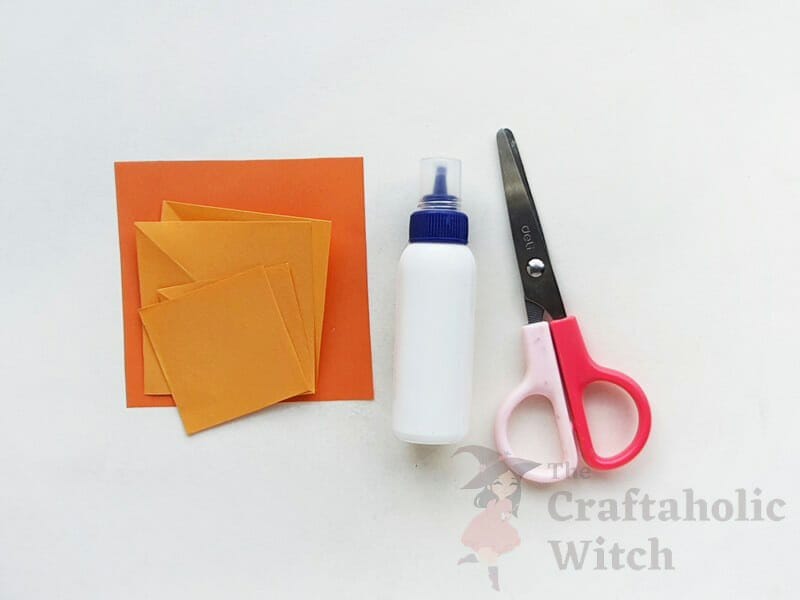
- Colored craft paper (If you don't have craft papers at home, you can consider these origami papers from Amazon (my affiliate link)).
Tools
- Scissors
- Ruler
- Craft glue
How to Fold an Origami Maple Leaf
Instructions
Step 1: Preparing the Papers
Use a ruler and pencil to trace a perfectly square shape on the selected paper. We're using 1 sheet of 8×8 cm, 2 sheets of 6.5 cm, and 2 sheets of 4.5 cm. Cut out the square shapes neatly using a pair of scissors. Fold the square paper into half diagonally to create a crease along with the diagonal half folding. Unfold the diagonal half fold before proceeding to the next step.
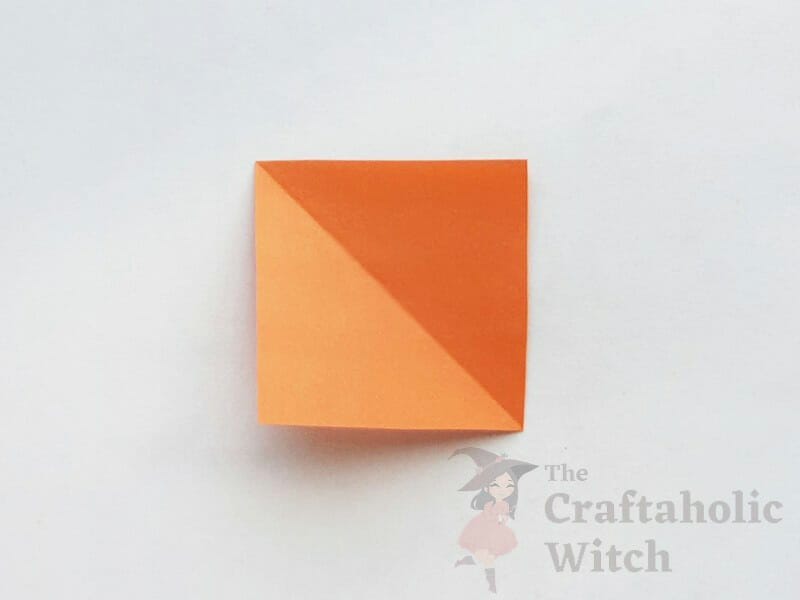
Step 2: Folding Sides
Fold any 2 adjacent sides (keeping the diagonal crease along the middle) along the diagonal crease.
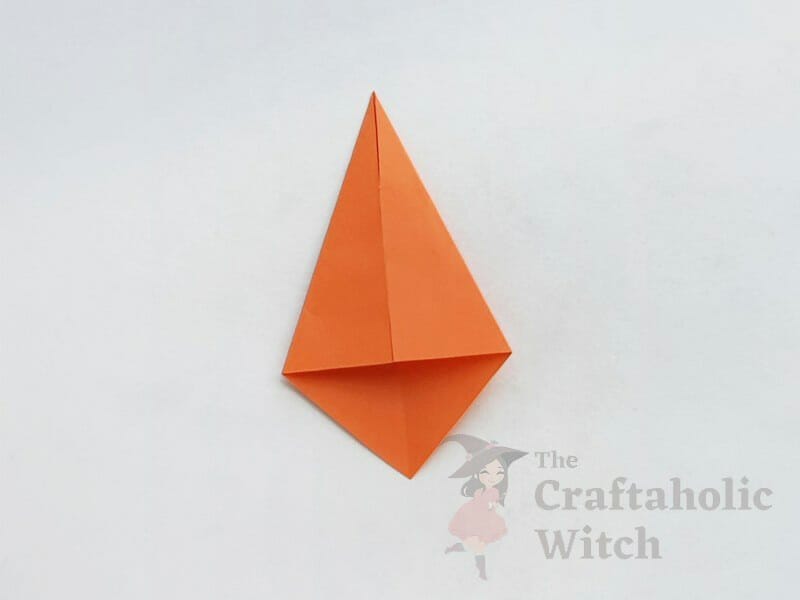
Step 3: Fold the Bottom Corner
After folding the 2 sides there will be a triangle part on the bottom side of the current paper. Fold the triangle part inside as well.
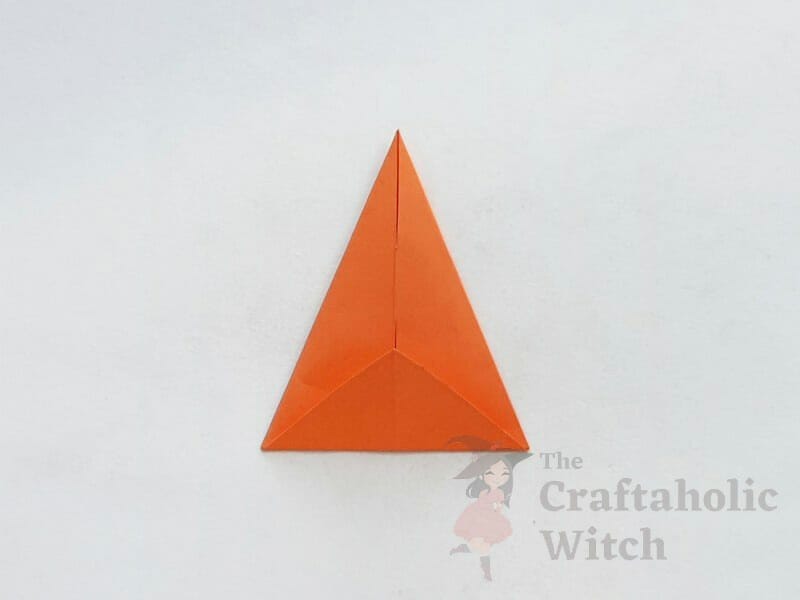
Step 4: Fold the Bottom Corners
Fold the bottom corners of the current pattern inside, aligning them along the middle line.
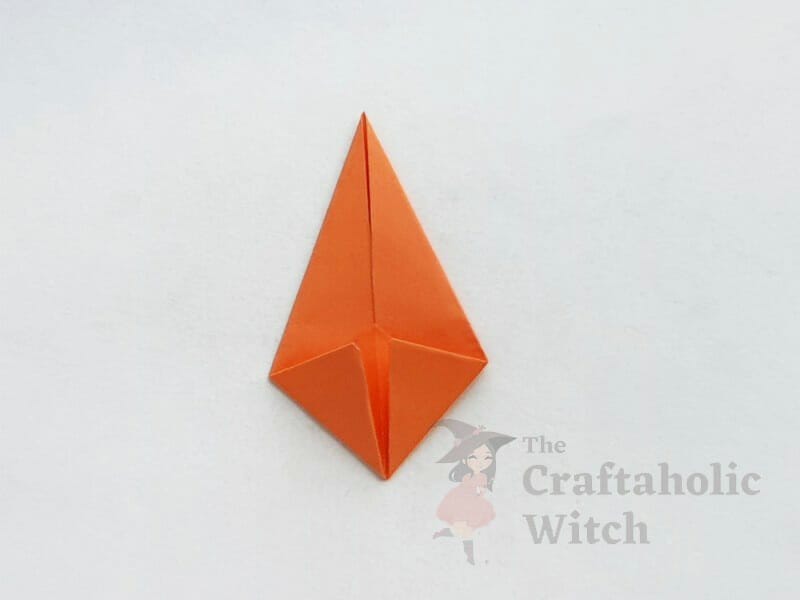
Step 5: Unfold One Side
Unfold the last 3 folds of any one side of the current paper.
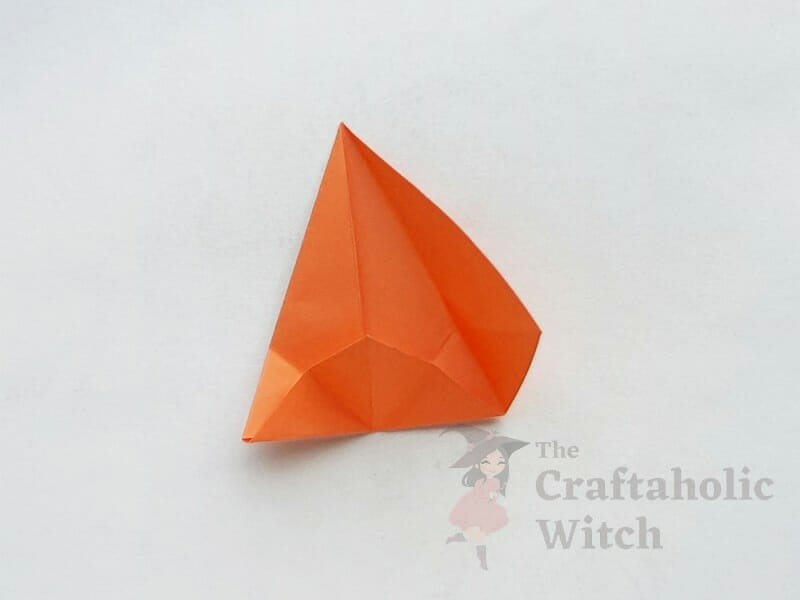
Step 6: Forming the Right Tip
Let's start from the right side. Fold the right bottom corner (of the current pattern) along its middle crease and then along the crease created in step 4. This will automatically draw the right corner upwards and the pattern will look something like the pattern in the picture of this step.
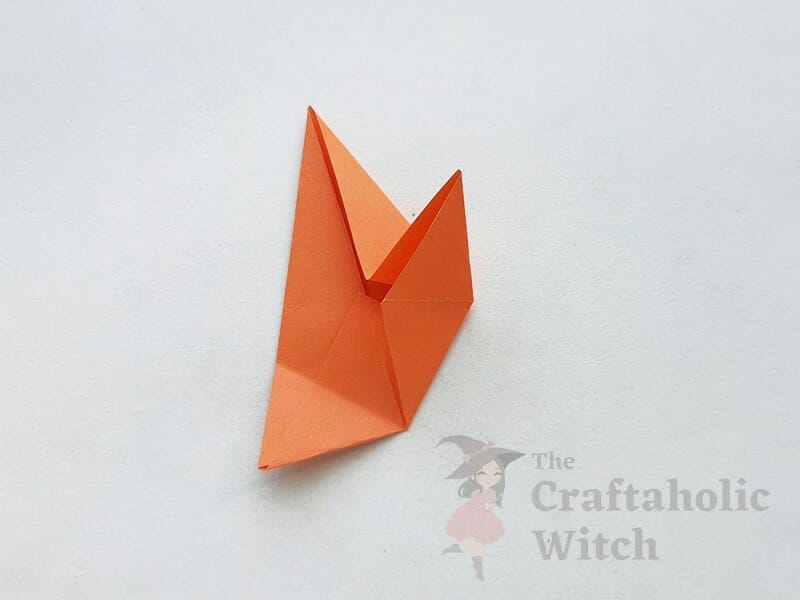
Step 7: Forming the Left Tip
Similarly, fold and form the left bottom corner of the current paper.
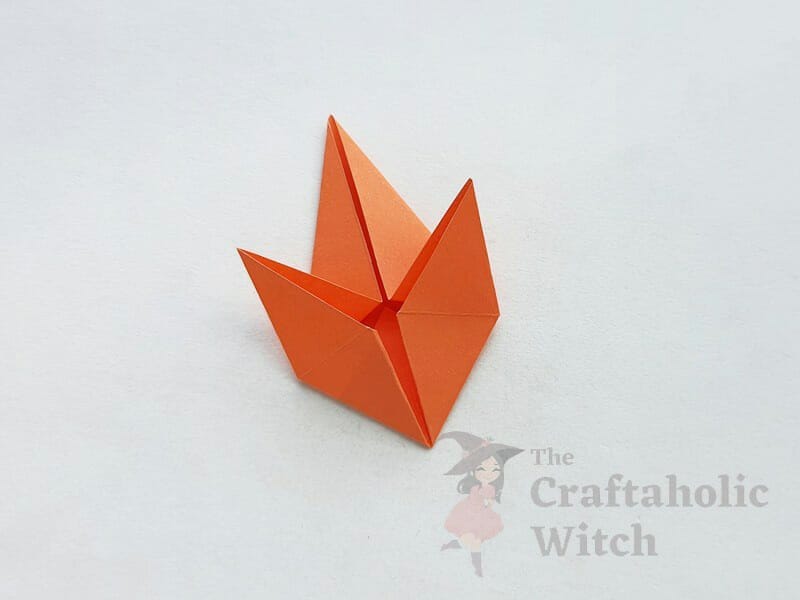
Step 8: Flip the Pattern
Flip the current paper pattern to the other side without unfolding any of the current folds.
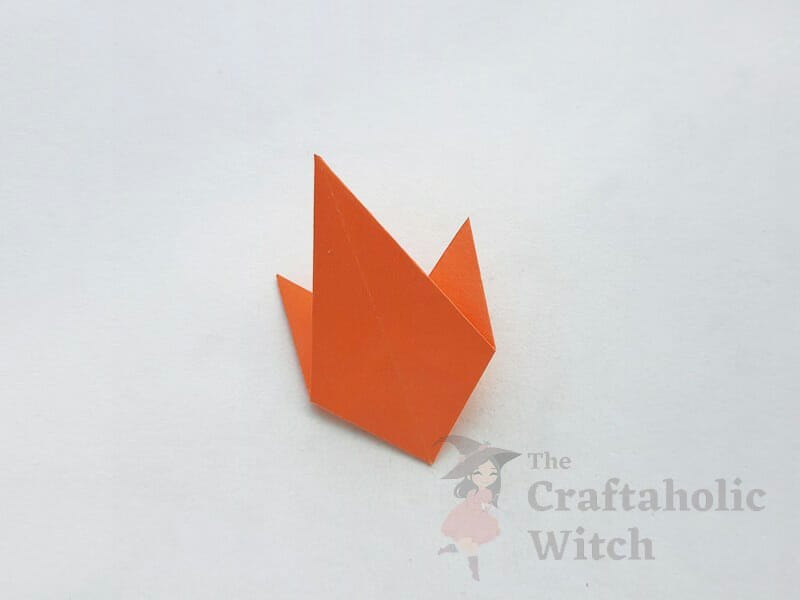
Step 9: Folding the Sides
Hold the bottom right side and fold it along the middle line of the pattern.
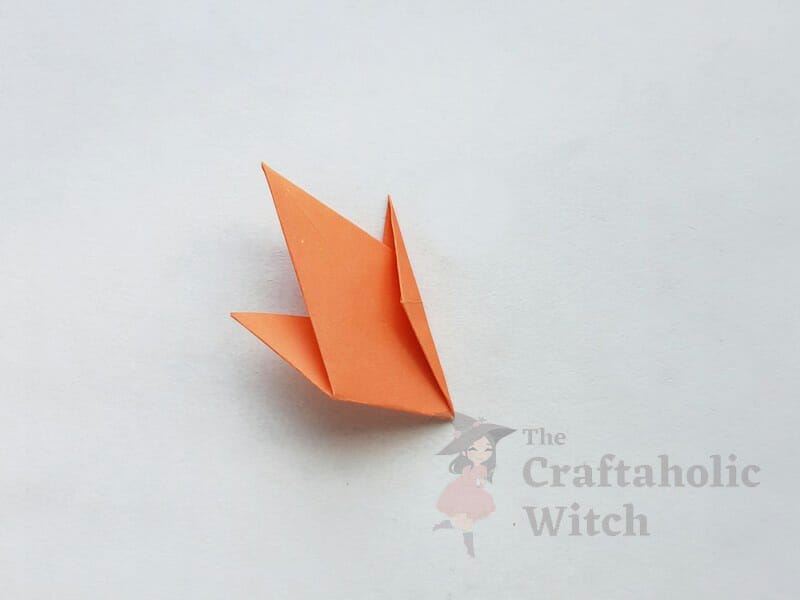
Step 10: Bring the Right Flap to Front
Now, bring the other side of the folded part (right side) to the front.

Step 11: Bring the Left Flap to the Front
Similarly, fold the left side of the current pattern to the front.
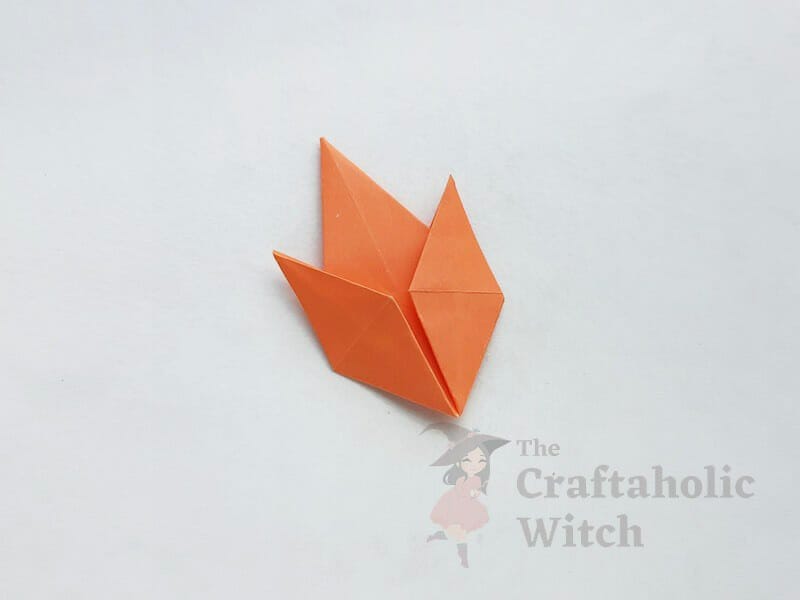
Step 12: Prepare the Other Patterns
Now, use the rest of the paper sheets to fold similar origami patterns.

Step 13: Prepare Patterns to Attach
Take the big and any one of the medium patterns. Apply glue on a side of the medium pattern.
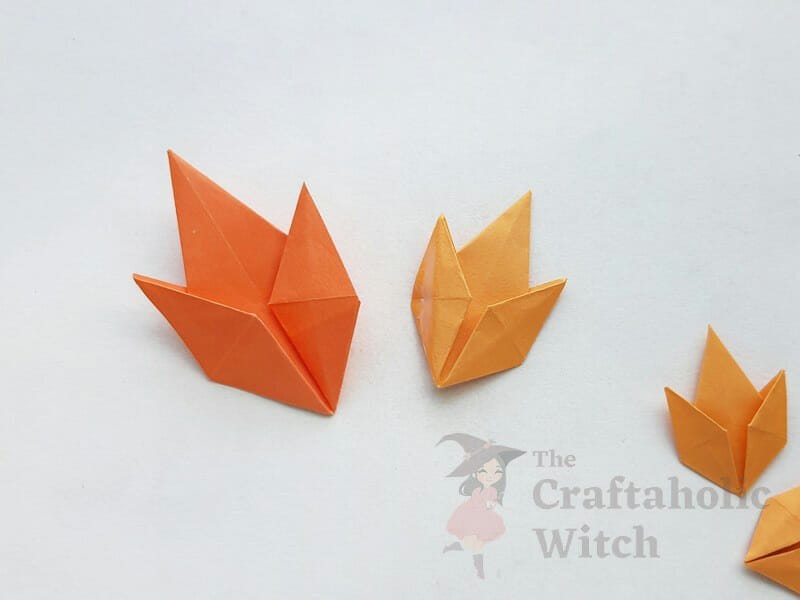
Step 14: Attaching the Patterns
Tuck the glued part of the medium pattern under the big pattern, matching the bottom corners of both patterns nicely.
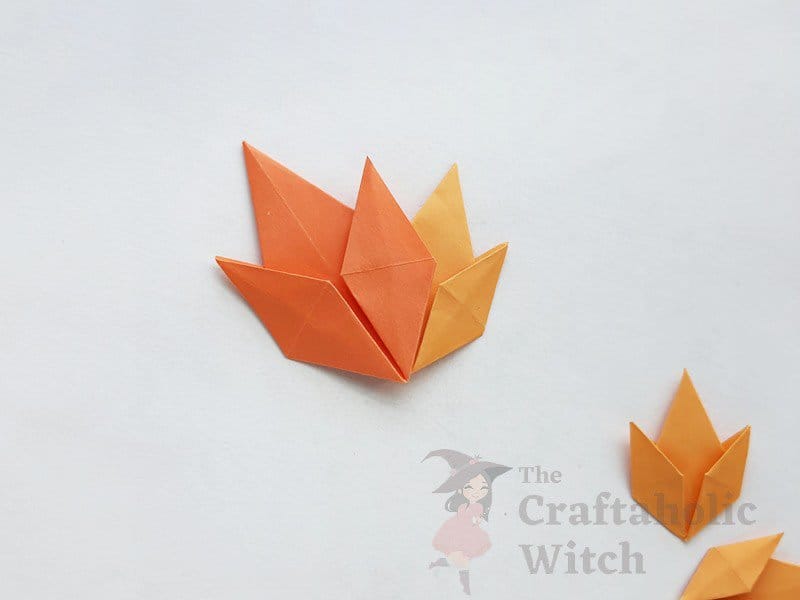
Step 15: Complete the Maple Leaf
Attach a small pattern with the attached medium one and then do the same for the other side of the big pattern to complete the origami maple leaf.
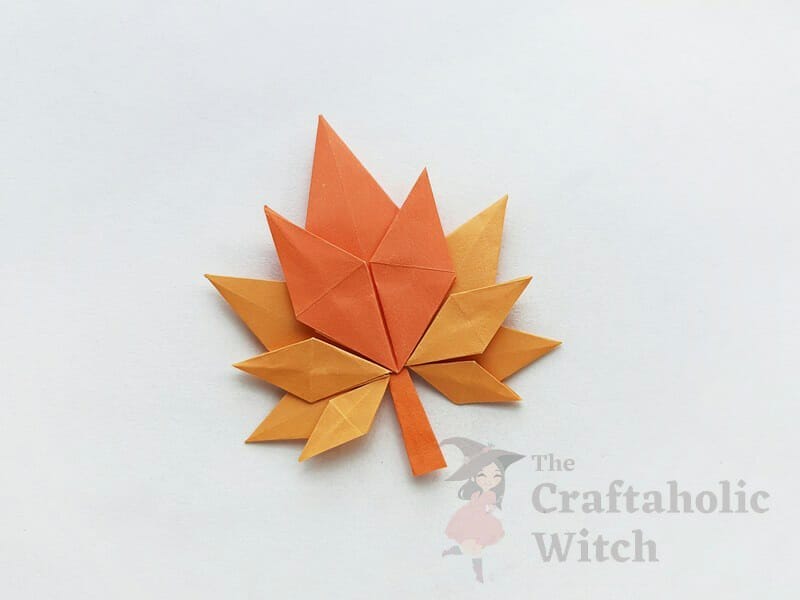
And there, you have an origami maple leaf ready. You can use different shades of the same colored craft paper for each parts (big, medium and small square sheets) to add some shade to the origami maple leaf. You can use them many other crafts, which is the best thing about this craft.
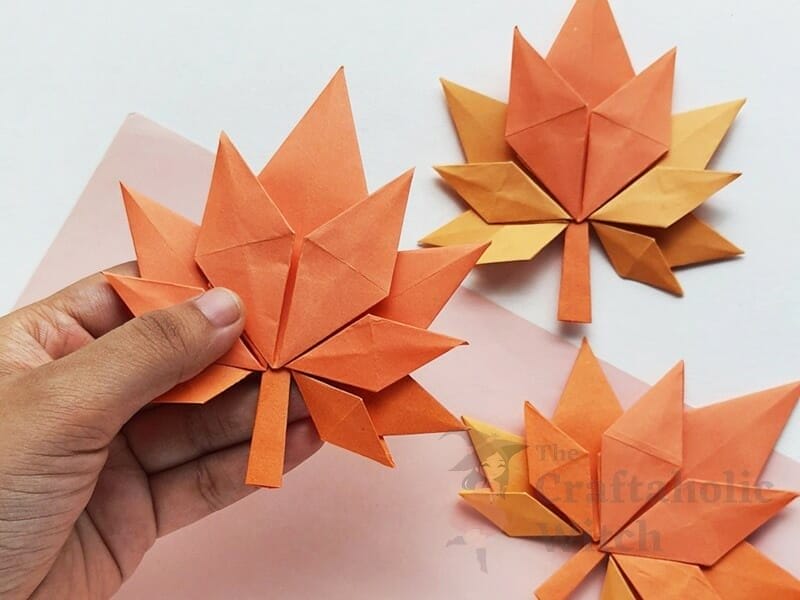
Watch Video: How to Make Origami Maple Leaf – Origami Maple Leaf Folding Instructions
Origami crafts can be tricky sometimes. You can also check out our video tutorial on how to fold origami maple leaves.
Folding an Origami Maple Leaf: Tips for Beginners
Here are some tips if you're having difficulty crafting the origami maple leaf perfectly.
- Make sure to use a pencil and ruler to measure the 5 sheets perfectly before starting the craft.
- The initial base folds need to be done neatly, the rest of the folds will align naturally.
- Apply white glue to join the patterns together.
- You can apply glue on the backside of the final pattern to join the patterns together nicely and give them a sturdy finishing.
Some of Our Paper Origami Tutorials You May Like
- How to make Origami Lotus Flower
- How to Make Origami Bat
- How to Make Origami Paper Leaves
Origami crafts are one of the great brain-teasing activities and are very therapeutic. We really hope that you enjoy these crafts!
Happy Crafting!
Thank You
How to Make a Maple Leaf Origami
Source: https://www.thecraftaholicwitch.com/origami-maple-leaf/
0 Response to "How to Make a Maple Leaf Origami"
Post a Comment